Insert molding and overmolding are two key plastic injection molding techniques that serve in manufacturing components across several industries. This article reviews the insert molding process, and what overmolding is, and compares the features of insert molding vs overmolding.
Insert Molding Process
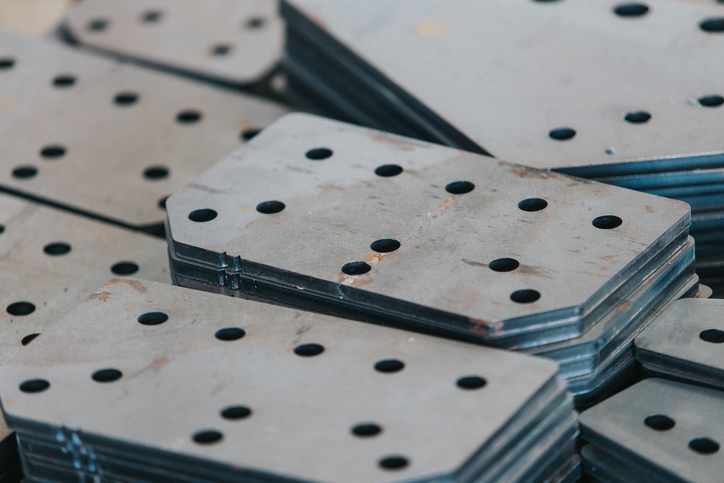
Insert molding is a manufacturing technique that involves placing a pre-formed component, or an insert, into a mold, and then injecting a material, typically plastic, around it, creating a permanent single, integrated part. This process serves to combine the properties of different materials, like the strength of metal with the versatility of plastic.
To fully grasp how insert molding works, it is essential to break down the process into clear, step-by-step stages.
Design Considerations
Before starting the insert molding process, engineers must design the mold to accommodate both the inserts and the desired plastic part. During this phase, various factors come into play, including the type of insert material, the positioning of the insert, and the compatibility of the plastic material with the insert. Careful consideration of these elements ensures effective bonding and alignment of the different components once molded.
Loading Inserts into the Mold
The next step involves placing the inserts into the mold cavity. There are two primary methods for loading inserts:
- Automated Insertion: This method utilizes robotic systems or automated machinery to position the inserts precisely within the mold. Automation enhances efficiency, speed, and repeatability while minimizing the risk of human error.
- Manual Insertion: In certain scenarios, especially when dealing with small production runs, operators may insert components manually. This approach allows for detailed inspection and adjustments but may be slower than automated methods.
Injecting Molten Plastic
Once the inserts are securely positioned in the mold, the next step is to inject molten plastic into the mold cavity. The injection unit heats the plastic resin until it reaches a molten state and then injects it into the mold under high pressure. This pressure forces the molten plastic to envelop the inserts thoroughly, ensuring a strong bond once cooled. The high-pressure injection also eliminates air pockets, which can compromise the quality of the mold.
Cooling and Solidification
After the molten plastic fills the mold, it begins to cool and solidify. During this critical phase, the temperature must be carefully controlled to ensure uniform solidification. Engineers typically maintain a holding pressure to help reduce shrinkage and prevent backflow of the molten plastic into the injection unit. This cooling phase can take several seconds to minutes, depending on the part’s thickness and the material used.
Opening the Mold and Removing the Part
Once the plastic has cooled and solidified sufficiently, the next step is to open the mold. The mold halves separate, allowing easy access to the molded part. Operators should exercise caution during this phase to avoid damaging the part or the inserts.
To remove the molded part, manufacturers often use ejector pins, which push the part away from the mold’s surface. This action ensures that the part is released smoothly, without causing any harm to the structure itself.
Trimming and Post-Processing
After removing the molded part, it often comes with excess material, such as sprues and runners. The final step involves trimming away this excess material to achieve the desired final shape.
Moreover, manufacturers may implement post-processing treatments to enhance the part’s properties. Common post-processing operations include:
- Deburring: The removal of sharp edges or excess material that could affect the part’s quality or safety.
- Heat Treatment: This process helps relieve internal stresses that may have developed during molding, thus improving the part’s mechanical properties.
- Surface Finishing: Various surface treatments, such as coating or polishing, can improve appearance and performance, depending on the requirements of the application.

What is Overmolding
Overmolding is a specialized manufacturing process that enhances the functionality of molded plastic parts by applying a second layer of material over an existing substrate. This technique is common in the creation of parts with combined properties. For example, a material with a rigid core for strength and a soft outer layer for comfort and grip.
Overmolding involves several precise steps to ensure strong bonding between the base material (substrate) and the overmolded layer. Below is a breakdown of the process.
Material Selection
The first step in the overmolding process is the selection of materials. Two materials are typically chosen: a rigid substrate, which provides stability, and a softer overmold material like rubber or a thermoplastic elastomer. It is crucial that these materials are compatible to ensure proper bonding during the molding process. Factors to consider during this selection include mechanical properties, compatibility, and functionality of the final product.
Mold Design
After material selection, the focus shifts to designing the molds. Overmolding usually requires two molds: one for the substrate and another for the overmold. The design needs to ensure the effective bonding and shaping of both materials. Molds must account for gates, vents, and cooling channels to optimize material flow and ensure consistent part quality. Also, the inclusion of features like undercuts enhances mechanical bonding between the materials.
Injection of the Substrate
After preparing the molds, the next stage involves injecting the rigid substrate material into the designated mold cavity. The injection molding machine heats the substrate material until it reaches a molten state and injects it into the mold under high pressure. This phase requires careful monitoring to ensure the mold fills uniformly. Hence, allowing the substrate to solidify and maintain its intended shape once cooled.
Loading the Substrate into the Mold
After molding and cooling the substrate, transfer it to the second mold for the overmolding phase. Depending on the setup, this can be done either manually or automatically. In automated systems, robotic arms typically handle the transfer seamlessly, while manual systems require operators to place each substrate into the new mold carefully.
Injection of the Overmold Material
In this crucial step, the softer overmold material is injected around or over the substrate. The overmold material is also heated to a molten state before being injected into the mold cavity under high pressure. This step is essential as it allows the overmold material to flow and adhere to the substrate during the cooling process. Proper control over the injection speed and pressure is vital to avoid defects such as voids or incomplete fills.

Cooling and Solidification
Once the overmold material is injected, both layers of material must be allowed to cool thoroughly. Cooling channels within the mold facilitate the proper temperature management needed for optimal bonding. After cooling and solidification, the final molded part retains the combined properties of both materials. This includes the rigid substrate providing strength, while the elastomeric layer offers comfort and grip.
Ejection and Finishing
After cooling, open the mold and eject the overmolded part using ejector pins. The part must be handled with care to avoid damaging either the overmold or the substrate. Depending on the specifications of the end product, there may be post-processing requirements. These may include trimming excess material, deburring edges, or applying surface finishes to enhance aesthetics as well as functionality.
Comparing Insert Molding vs Overmolding
| Feature | Insert Molding | Overmolding |
| Process | Encapsulates pre-formed inserts within molded plastic | Applies a secondary material over a base substrate |
| Materials | Metal/ceramic inserts with thermoplastics | Generally, different durometer plastics |
| Bonding Mechanism | Mechanical interlocking primarily | Chemical and mechanical bonding |
| Cycle Time | Single shot process | Requires multiple molding cycles |
| Tooling | Simple mold design, and can even utilize conventional injection molding equipment | Requires multiple tools as well as accurate alignment for even coverage |
| Durability | Stronger bond due to insert integration | Provides a soft-touch feel and impact resistance |
| Cost | More cost-effective for high-strength components, as well as low-volume production | Expensive for low-volume production and prototyping due to the use of multiple tools |
| Applications | Fasteners (e.g. seat belt system), connectors, and also structural components | Grips, seals, and protective covers |
Advantages of Insert Molding vs Overmolding
Insert molding demonstrates superior structural integrity vs overmolding in applications requiring metal-plastic combinations. Furthermore, the process offers significant cost advantages in high-volume production due to its single-shot nature. While overmolding excels in soft-touch applications, insert molding particularly shines in manufacturing precision electronic components and load-bearing parts. Additionally, insert molding ensures better dimensional stability vs overmolding, since the metal insert serves as a rigid anchor point during the cooling phase. Unlike overmolding, which primarily provides aesthetic and ergonomic benefits, insert molding enhances both functionality and reliability. Thus, making it a preferred choice for demanding applications.
Insert Molding Services at ITD
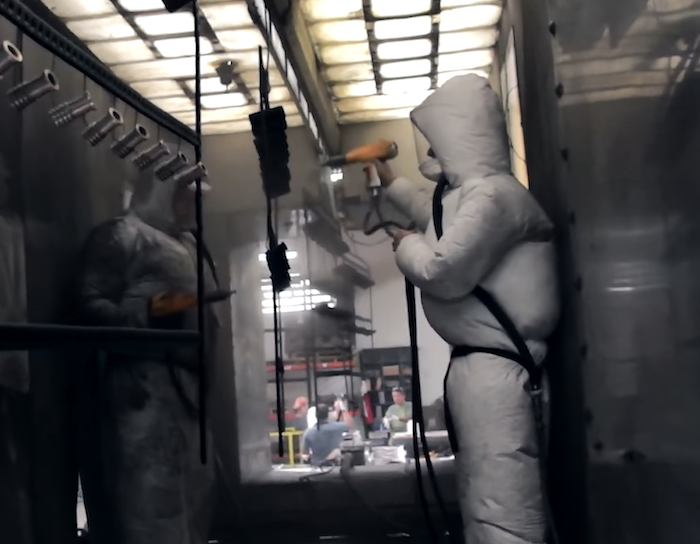
Elevate your production processes by choosing ITD Precision’s Insert Molding Services. As a leader in the industry, we provide an unparalleled combination of metal stamping, heat treating, E-Coating, and insert molding—all under one roof. Our state-of-the-art equipment, including advanced vertical rotating molding machines, ensures precision and efficiency tailored to your unique project needs. Contact us today for more details.